RockyMounts is a small operation out of Grand Junction, Colorado. Created with the following ideology, “when you absolutely, positively can’t ride it there; we’ve got you covered,” RockyMounts has been challenging the status quo of bike rack for both rooftop and hitches since 1993.
RockyMounts racks offer a wide range of compatibility for bike types and a wide range of rack types to suit your preference and stay competitive with the big names in the market.
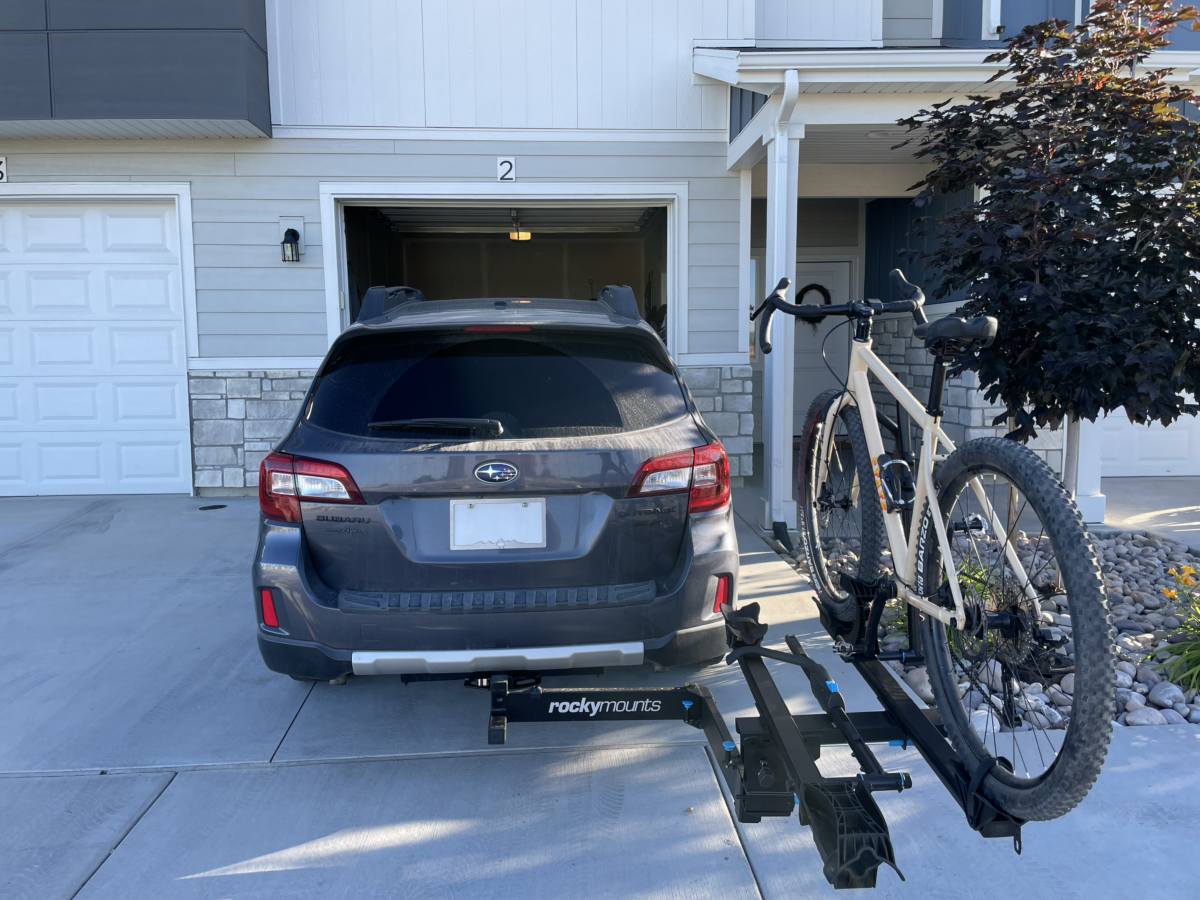
Selling my WRX for an Outback was the best decision I could have made since moving to Utah. It’s much more camp ready and, of course, makes adding a hitch cheap and easy.
I opted for a hitch rack option from RockyMounts, let’s dive into the BackStage review!
Key Features:
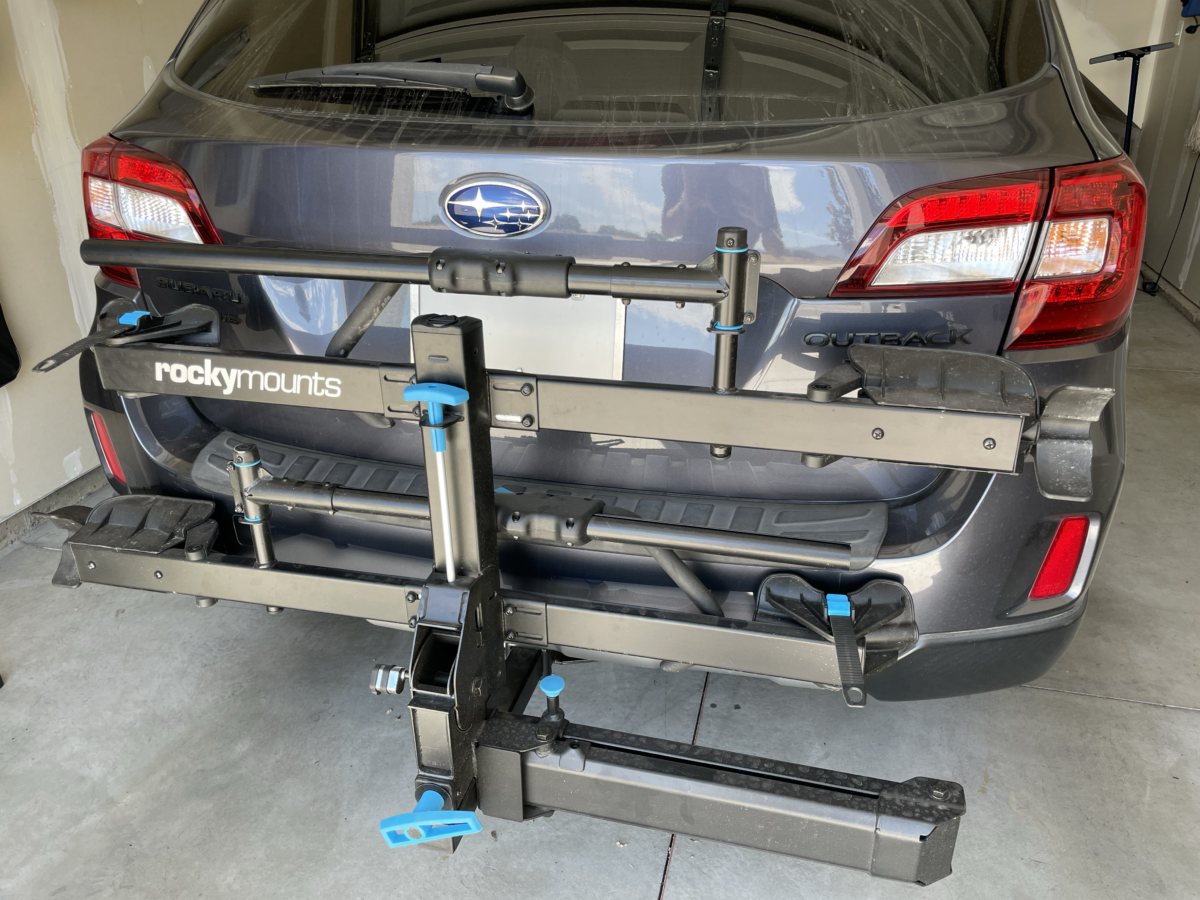
- The industry’s first 180-degree swing away platform hitch rack
- Carries 2 bikes, up to 60 lbs per tray (120 lbs total)
- No contact with frame; secures bicycle by the front wheel
- Carries road tires up to 5.0” fat bike tires, and diameters from 20” to 29”
- Compatible with bicycle wheelbases from 36” to 50”
- Folds flat against the vehicle and tilts down 30 degrees to allow for hatch access
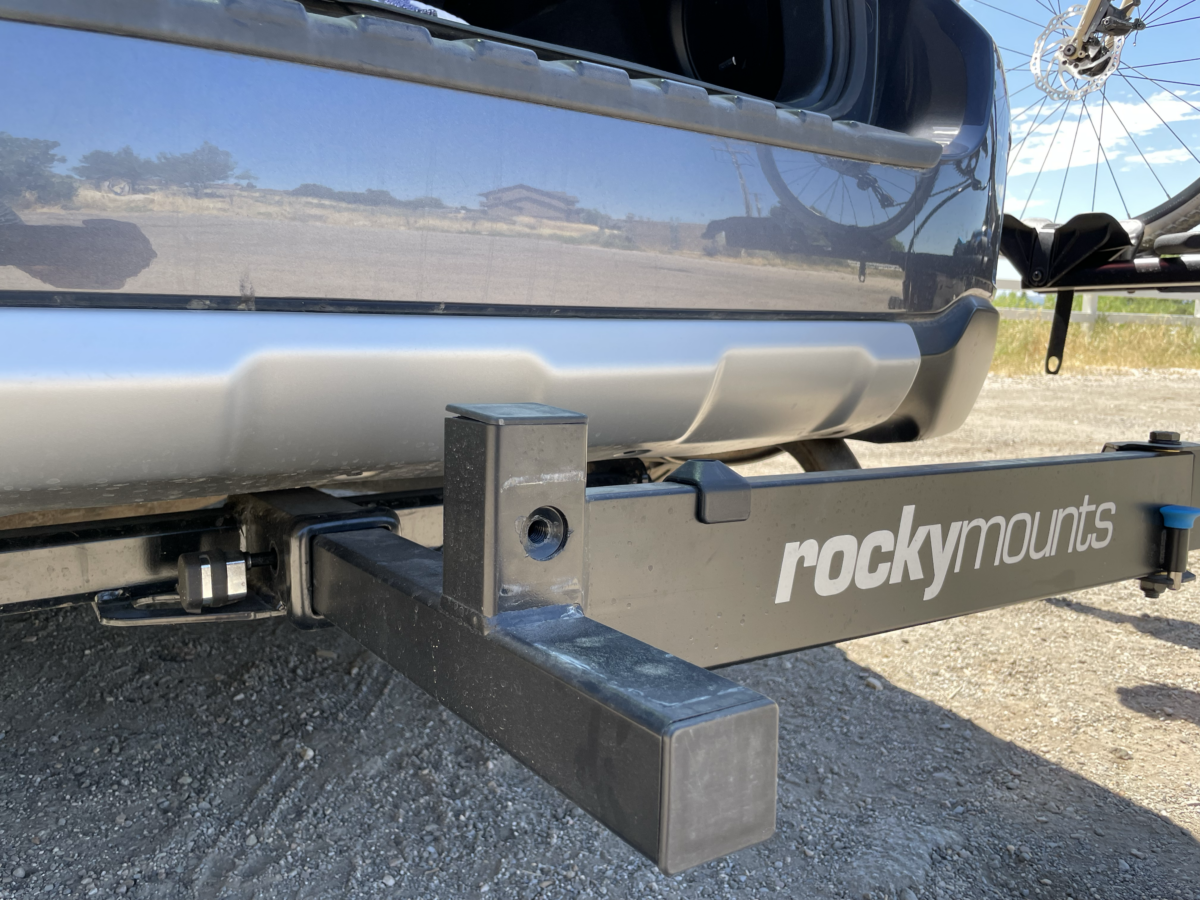
- Only available for 2″ hitches. Utilizes RockyMounts premium 3-axis anti-wobble system
- Includes locking hitch bolt and cable lock, keyed alike
- All tools and wrenches included
[divider] RockyMounts BackStage Review Breakdown [/divider]
Design
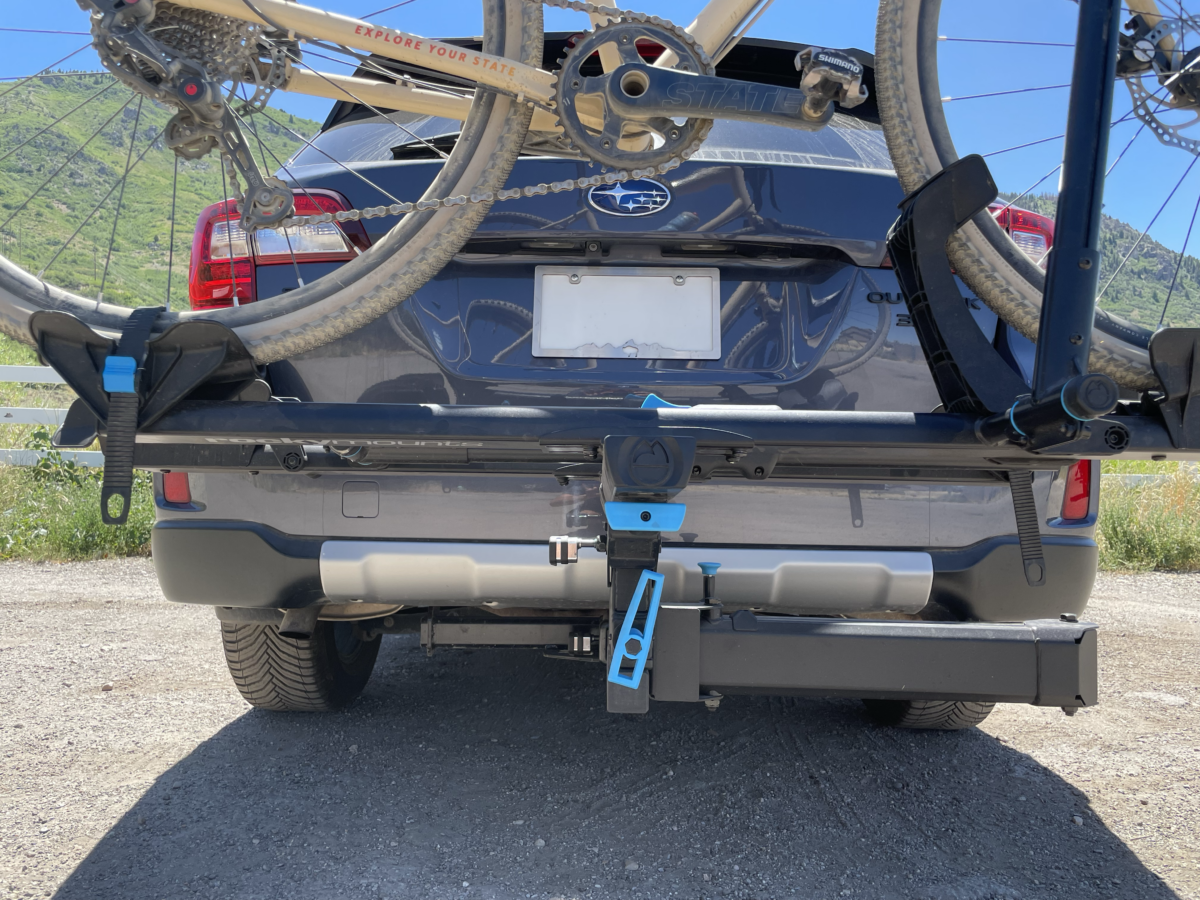
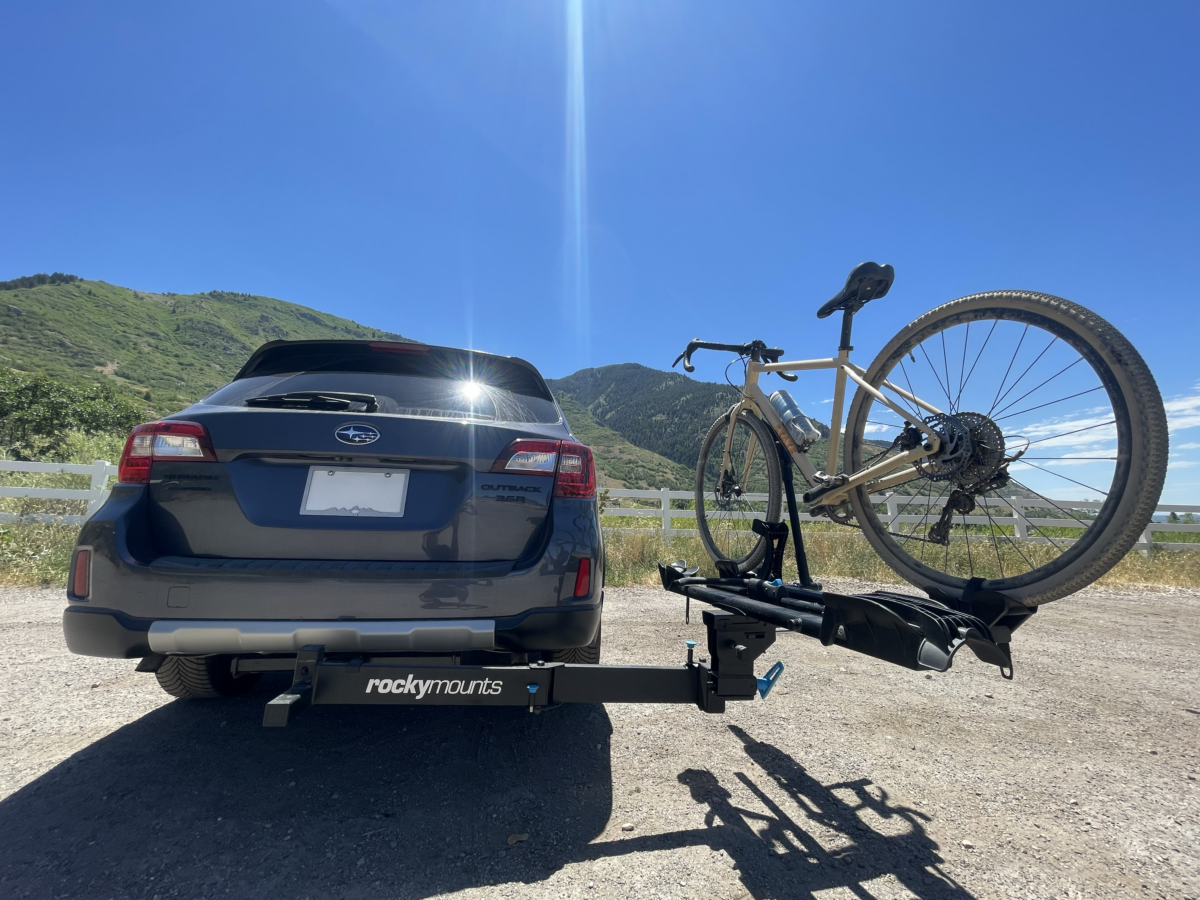
As mentioned first in the key features section above, BackStage’s main claim to fame is its ability to swing 180 degrees away from its mount base. What does that mean exactly? It means the pivot arm can rotate and form a straight line, unlike most competing racks on the market that form a right angle. In short, this translates to almost zero obstruction to the trunk, no matter what vehicle you’re driving. This is especially cool for folks who have vehicles with side-hinged doors – aka double-door cargo vans, camper conversions, Jeep Wranglers, Ford Broncos, etc.
Aside from the pivot base, the bike trays also sit on a pivot point, so you can pivot the base 180 degrees and you can swing the bikes 90 degrees so they sit perpendicular to the side of the vehicle. Pretty nifty thinking, RockyMounts.
One more awesome design callout is the RockyMounts exclusive, premium 3-axis anti-wobble system. While I can’t perfectly speak to the engineering behind the design, you can see from the 3D render below that as you tighten the hitch bolt, it anchors into a parallel bolt while an internal block squeezes the inside wall of the hitch tongue all while a ball simultaneously drops into place to create 3 points of contact for the 3-axis system. (There is an animated GIF of this action on the BackStage listing.)
These are just a few of the many subtle features that set this rack apart from the competition. A few more to be called out later.
Assembly & Installation
All in, assembly took me about an hour to an hour and a half to complete. Unfortunately, I forgot to set my timer to see the true length. All in all, the instructions were decently clear, but this awesome video from the BackStage team ensured I was getting all the steps right.
All that said, a longer assembly and installation time should be expected as this isn’t a cheap frame mount hitch rack. There are multiple pivot points, multiple trays, extra bolts, etc. Oh, and if you’re smarter than me, you’ll pay closer attention to the side of the receiver you’re screwing your hitch bolt into. It needs to be on the RIGHT-HAND side of the receiver in order to make use of that awesome 3-axis anti-wobble system that I called out early. Put the hitch bolt on the right-hand side the first time, and that’ll save an extra 15 minutes of hand cranking with the included wrench.
A few notes:
- Before buying, ensure you have a TWO-INCH hitch; this rack only fits 2” receivers
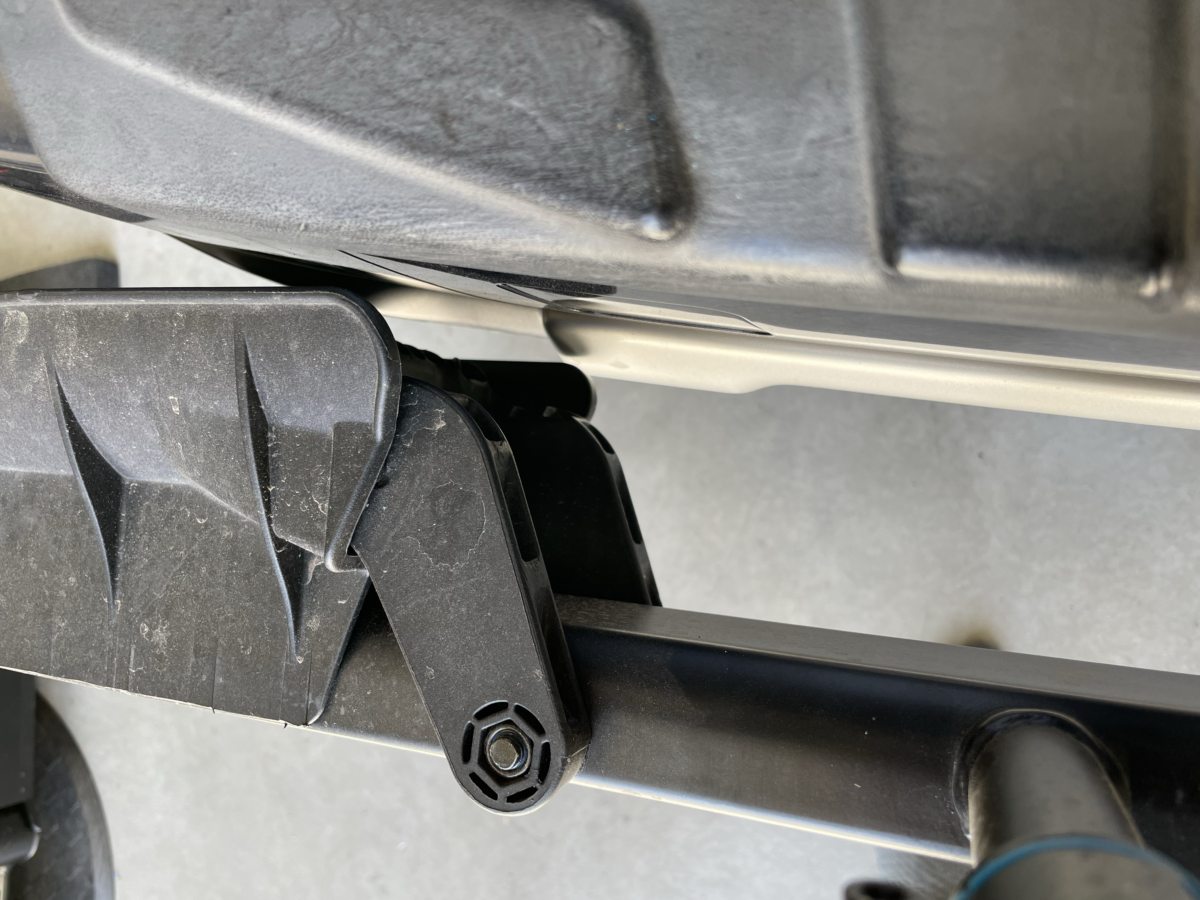
- Double-check the measurements from your hitch receiver opening to the edge of the bumper… my 2015 Outback’s hitch is back under the bumper a few inches, so I have some very minor bumper rub from the left side tire holder. You may want to invest in RockyMounts hitch extender.
Ease of Use
Overall, the BackStage is quite user-friendly. With every bike rack and every bike, you learn little tricks that make the rack experience easier. Here’s what I have found works best for me.
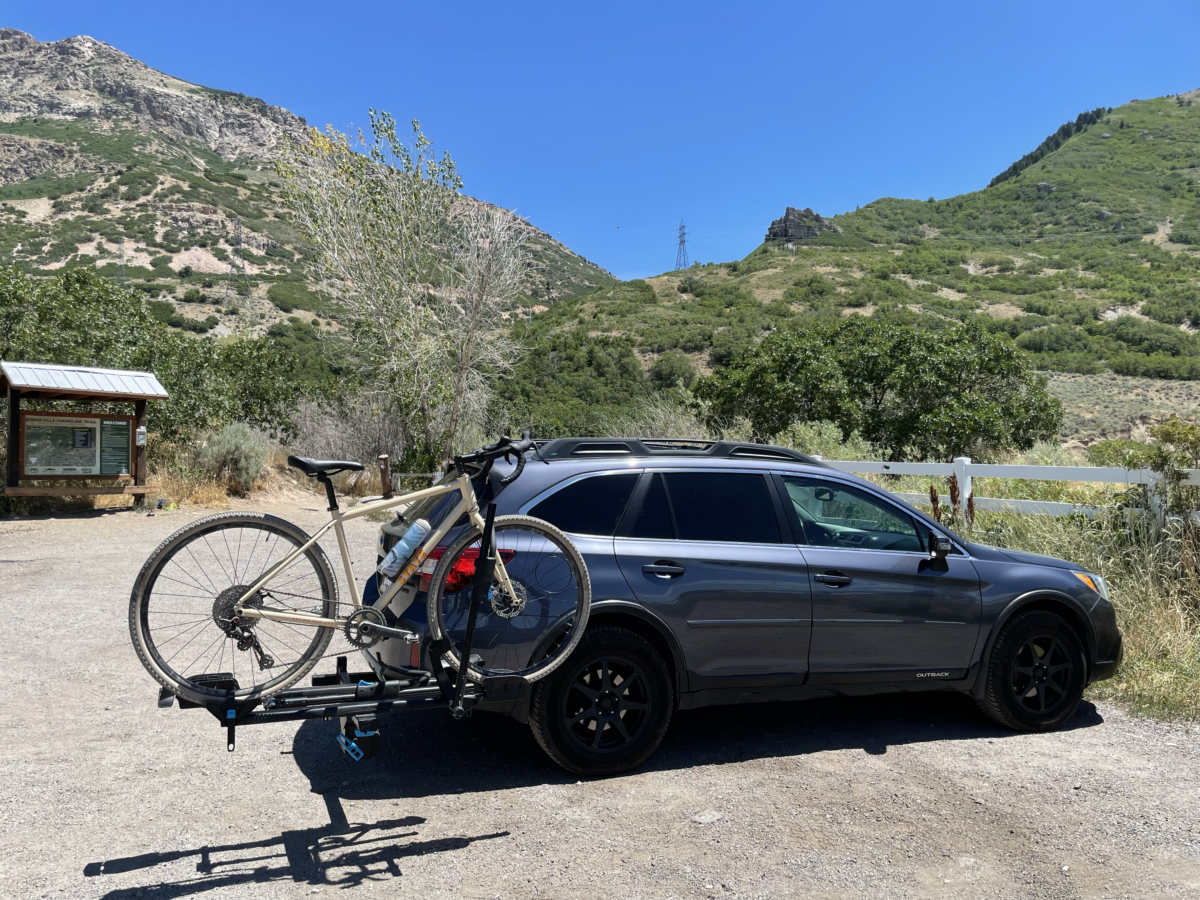
When loading my State All-Road, I’ve found the most enjoyable and hassle-free way is to:
- Swing the hitch down from its upright & locked position
- Move the tire & fork arm 180 degrees past the wheel cradle and extend the tire & fork arm fully
- Ensure the rear tire strap is out of the way
- Load the bike in place
- Rachet down the tire & fork arm fully
- Spin the rear wheel to ensure a clean passthrough of the strap & ratchet down
- Double-check the big locking handle – used to release the swing-out pivot point – is tight
Unloading is basically the reverse of the above steps. I like to undo the arm first so that the rear wheel strap stabilizes the bike while I release the rachet. Then you just brace the bike against the front wheel cradle and undo the strap!
This works best for me, as getting the tire & fork arm locked down keeps the bike upright and secure while messing with the rear wheel strap.
As for the pivot experience, it is slightly cumbersome as the locking handle I mentioned above has to be manually hand-turned to lock and unlock about 20 times in either direction. To be honest, I am not sure there is a better solution. You certainly don’t want your rack swinging out at 85 MPH in southern Utah, so RockyMounts did make the experience as good as they could to enable that level of peace of mind.
For the actual pivot method, the steps are:
- Unlock/untighten the big blue locking handle
- When that is freely spinning, pull the secondary blue topped locking pin and rotate as far as you want
- You can go 90 degrees for a quick swing, but if you’re going to leave the rack open for an extended period, say camp at night, it is certainly most stable in the 180-degree position as the secondary locking pin locks again at full swing
Swinging back is a direct reverse of the above steps with the exception of one extra pin that locks in the middle at full 180 degrees between the receiver tongue arm and the bike tray arm.
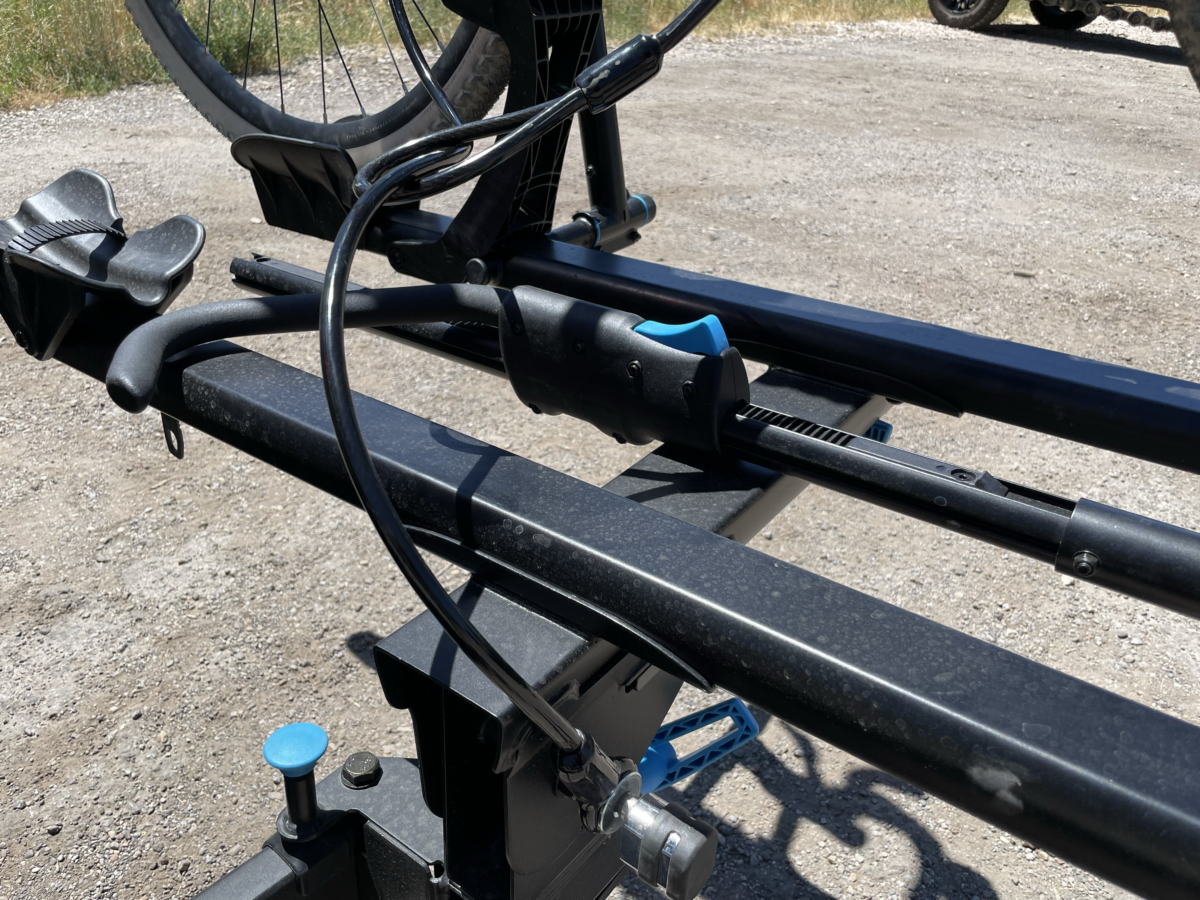
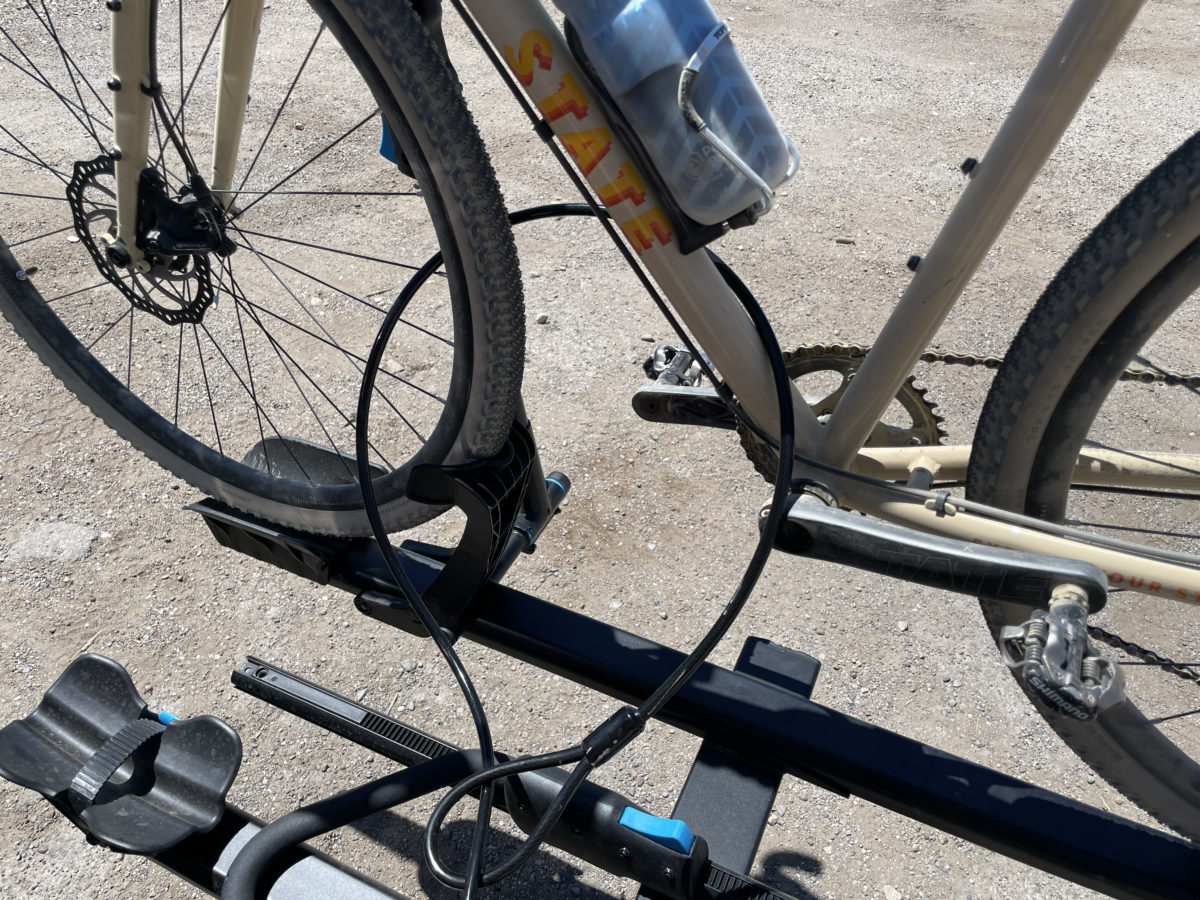
Bike Security
RockyMounts thought of everything with this rack, including a quick-to-use locking system. When not in use, you can stow the lock in your trunk or gear locker, etc. When you need it, all you do is simply loop the looped end (or non-looped end) through your frame(s) and wheel(s), then tuck the non-looped end through the looped end to complete the, well, loop. The non-looped end easily slides over a lock pin located on the main tray arm and is secured tightly by one of RockMounts integrated quick-release locks.
There is an additional quick-release lock that securely locks onto the left side of the hitch pin for total peace of mind. No one will or can easily walk off with your rack or your bike(s).
One note, RockyMounts recommends not using the lock during active transit as it is not designed to play nice with frame paint under the vibration and shaking that can happen at highway speeds. It’s up to you (and the age of your bike/condition of your paint).
Stability
The integrated anti-wobble system does a great job minimizing the vibration, shaking, and swaying of the rack itself. When I have the rack upright and locked, I never even notice the rack is on. There are no bumps, thuds, etc. to be heard when driving a bumpy city street, a rocky trailhead, or cruising at highway speed. Secondly, the large hand-turn swing arm locking bolt does an equally great job keeping the rack tight.
When bikes are loaded, the trays do sway a bit left to right on turns, bounce up and down when hitting bumps, and vibrate a bit at higher speeds. Again, nothing audible, but visible in your rear view mirror. I have not once worried about the bike popping off, or the rachets loosening. I don’t know of a rack out there that won’t behave in some of the listed ways above, and honestly, some ability to sway and move with the forces of driving is probably best distributed by some of the rack motion over directly transferring to your precious carbon frame.
Overall, no points lost for this! All my past racks did the same.
Value
Honestly, the BackStage is an expensive rack at almost $800, but so is every hitch platform bike rack that would compete with it. In my opinion, there’s not a detail that RockyMounts missed with this rack – from modern frameless bike holding, the swing-out platform, to the integrated locks, to the multiple pivot points, and the anti-wobble system.
Looking at other racks on the market in this price range, you’ll essentially pay equal or more for everything RockyMounts included here without the full 180-degree pivotability. Now you might be rethinking that Küat, Yakima, or Thule, eh?
Buy Now $769.95, or view all RockyMounts has to offer.
- Versatile access (swing out, pivot down)
- Anti-wobble technology is a game changer
- Integrated lock cable system & quick-release locks
- A bit cumbersome to release the pivot point with the manual handle unscrew/unwind
Leave a Reply