This is a sponsored post written by me on behalf of Milo Wifi. All opinions are 100% mine.
If you’ve found yourself getting hung up on a download or super slow internet connection while you are moving around the house or stepping outside for a minute, we know just how annoying that can be. All we want to do is stream music while working in the backyard or download a How-To video while in the garage, but instead, we get stuck in this limbo between one bar of wifi or slow cellular connection. While some people have unlimited data on their mobile devices, what if there is no cellular signal where and when you need it? Or if you have signal but have a data cap, what then? I mean we are already paying for internet, wouldn’t it be nice if it actually worked past 50 feet from the router? Milo Wifi sure thinks so. That’s why they created the Milo Wifi kit that helps boost your router’s signal so you can still have great coverage and high-speed internet whether you’re in the basement, in the garage, out on the back deck, or in the closet.
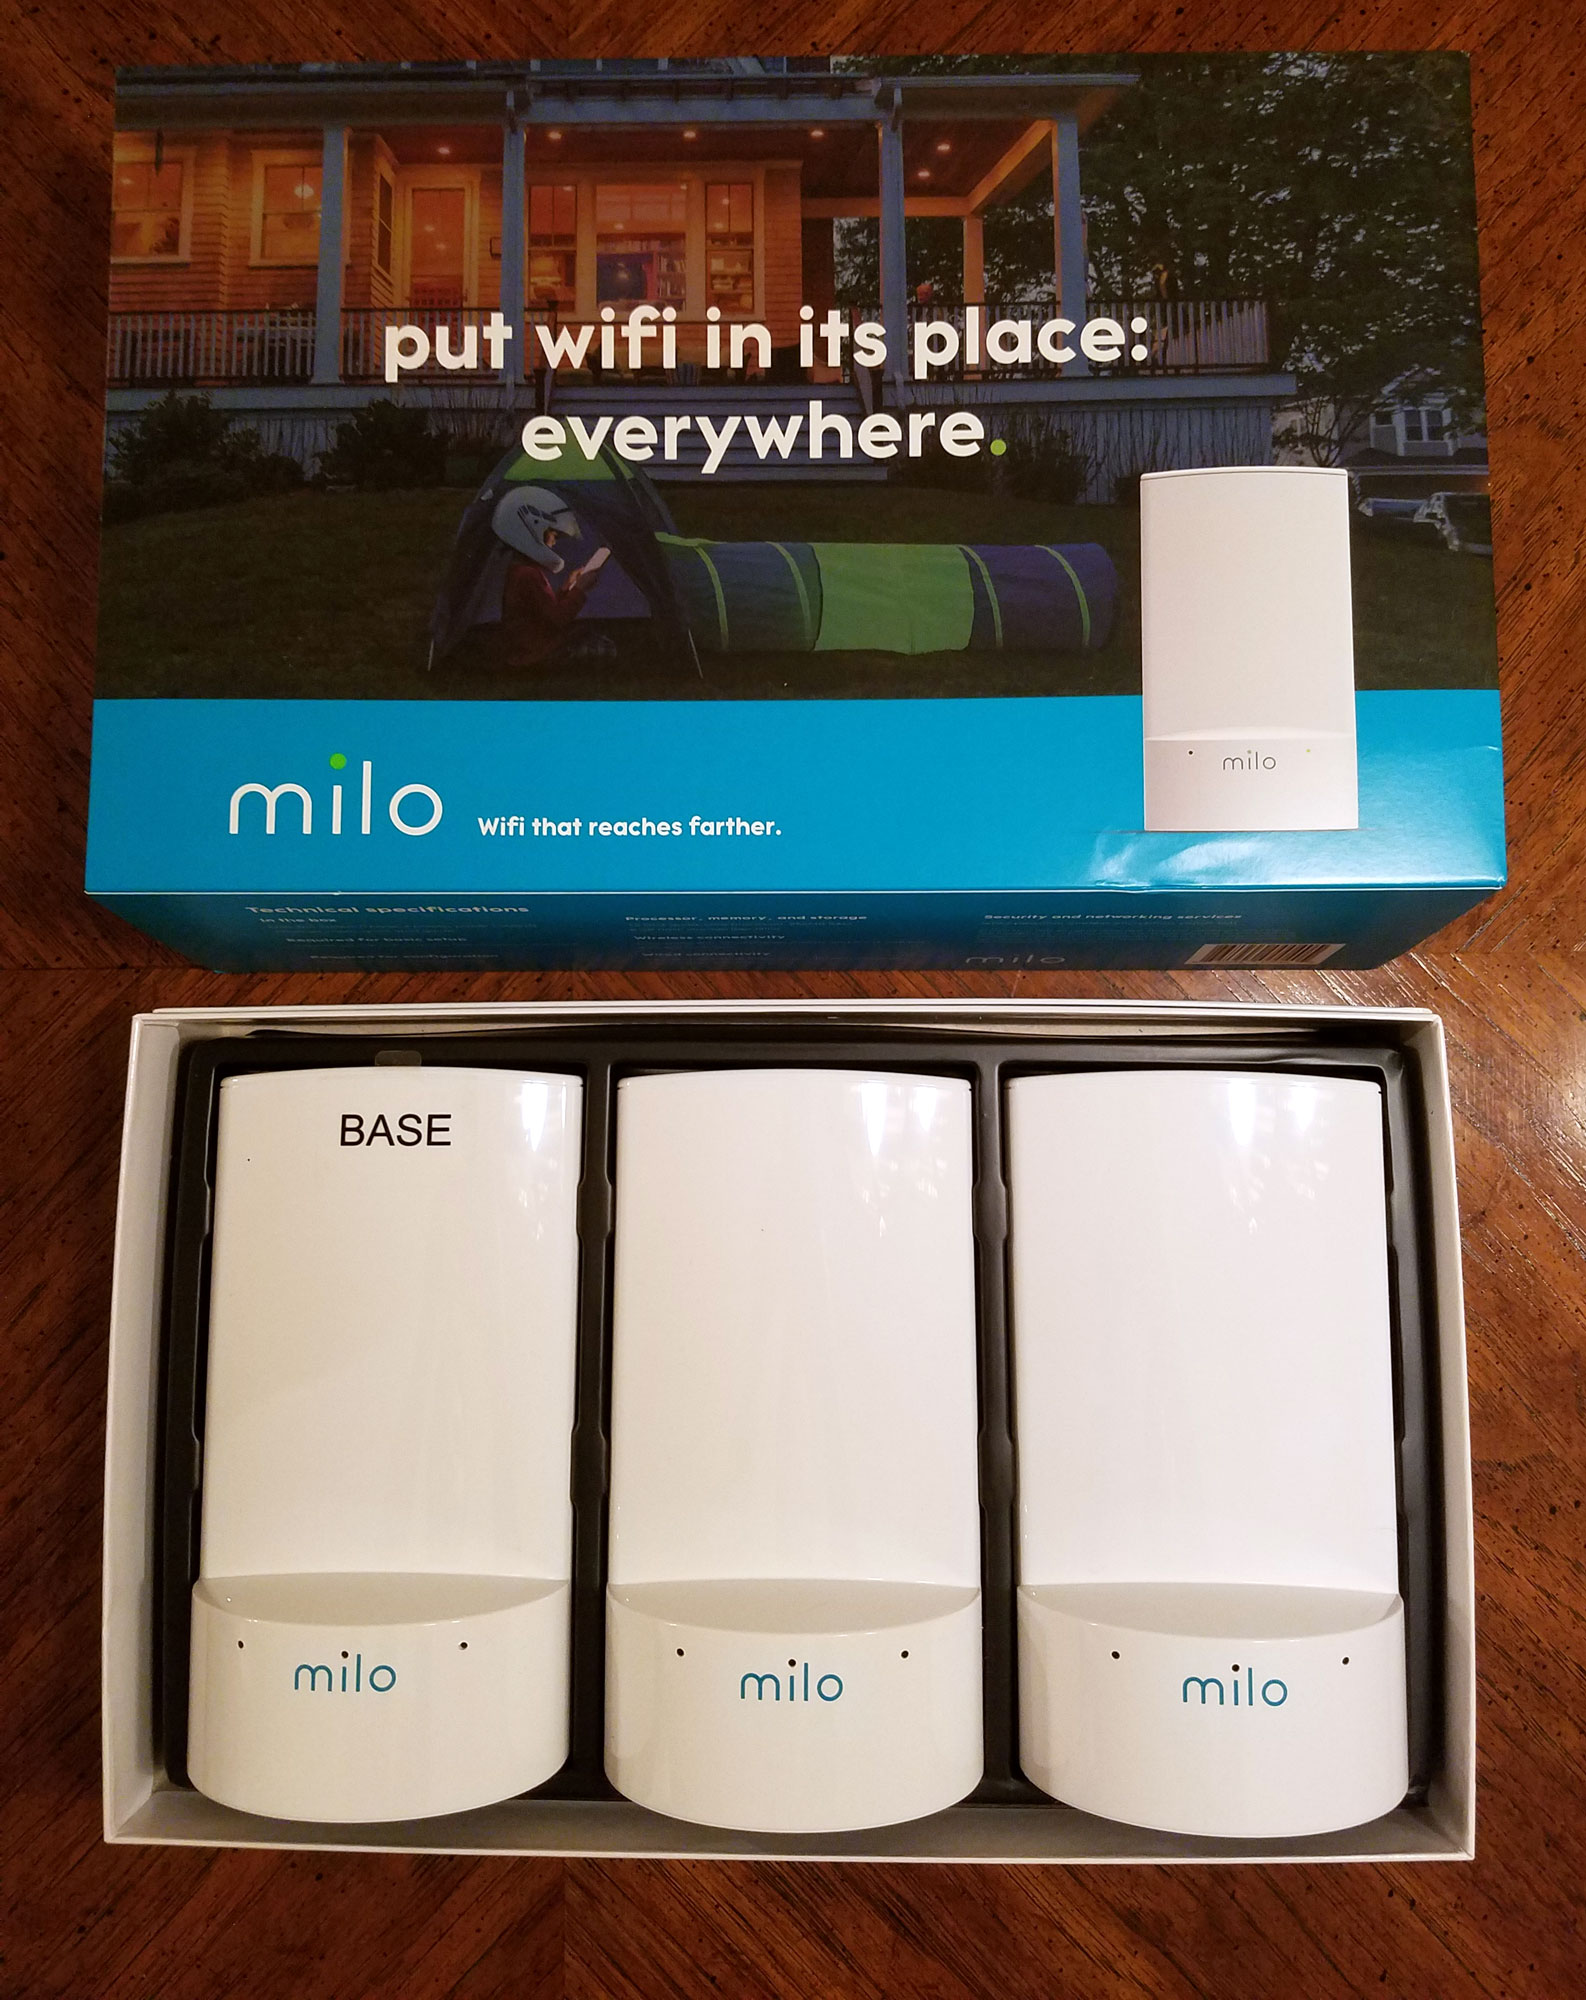
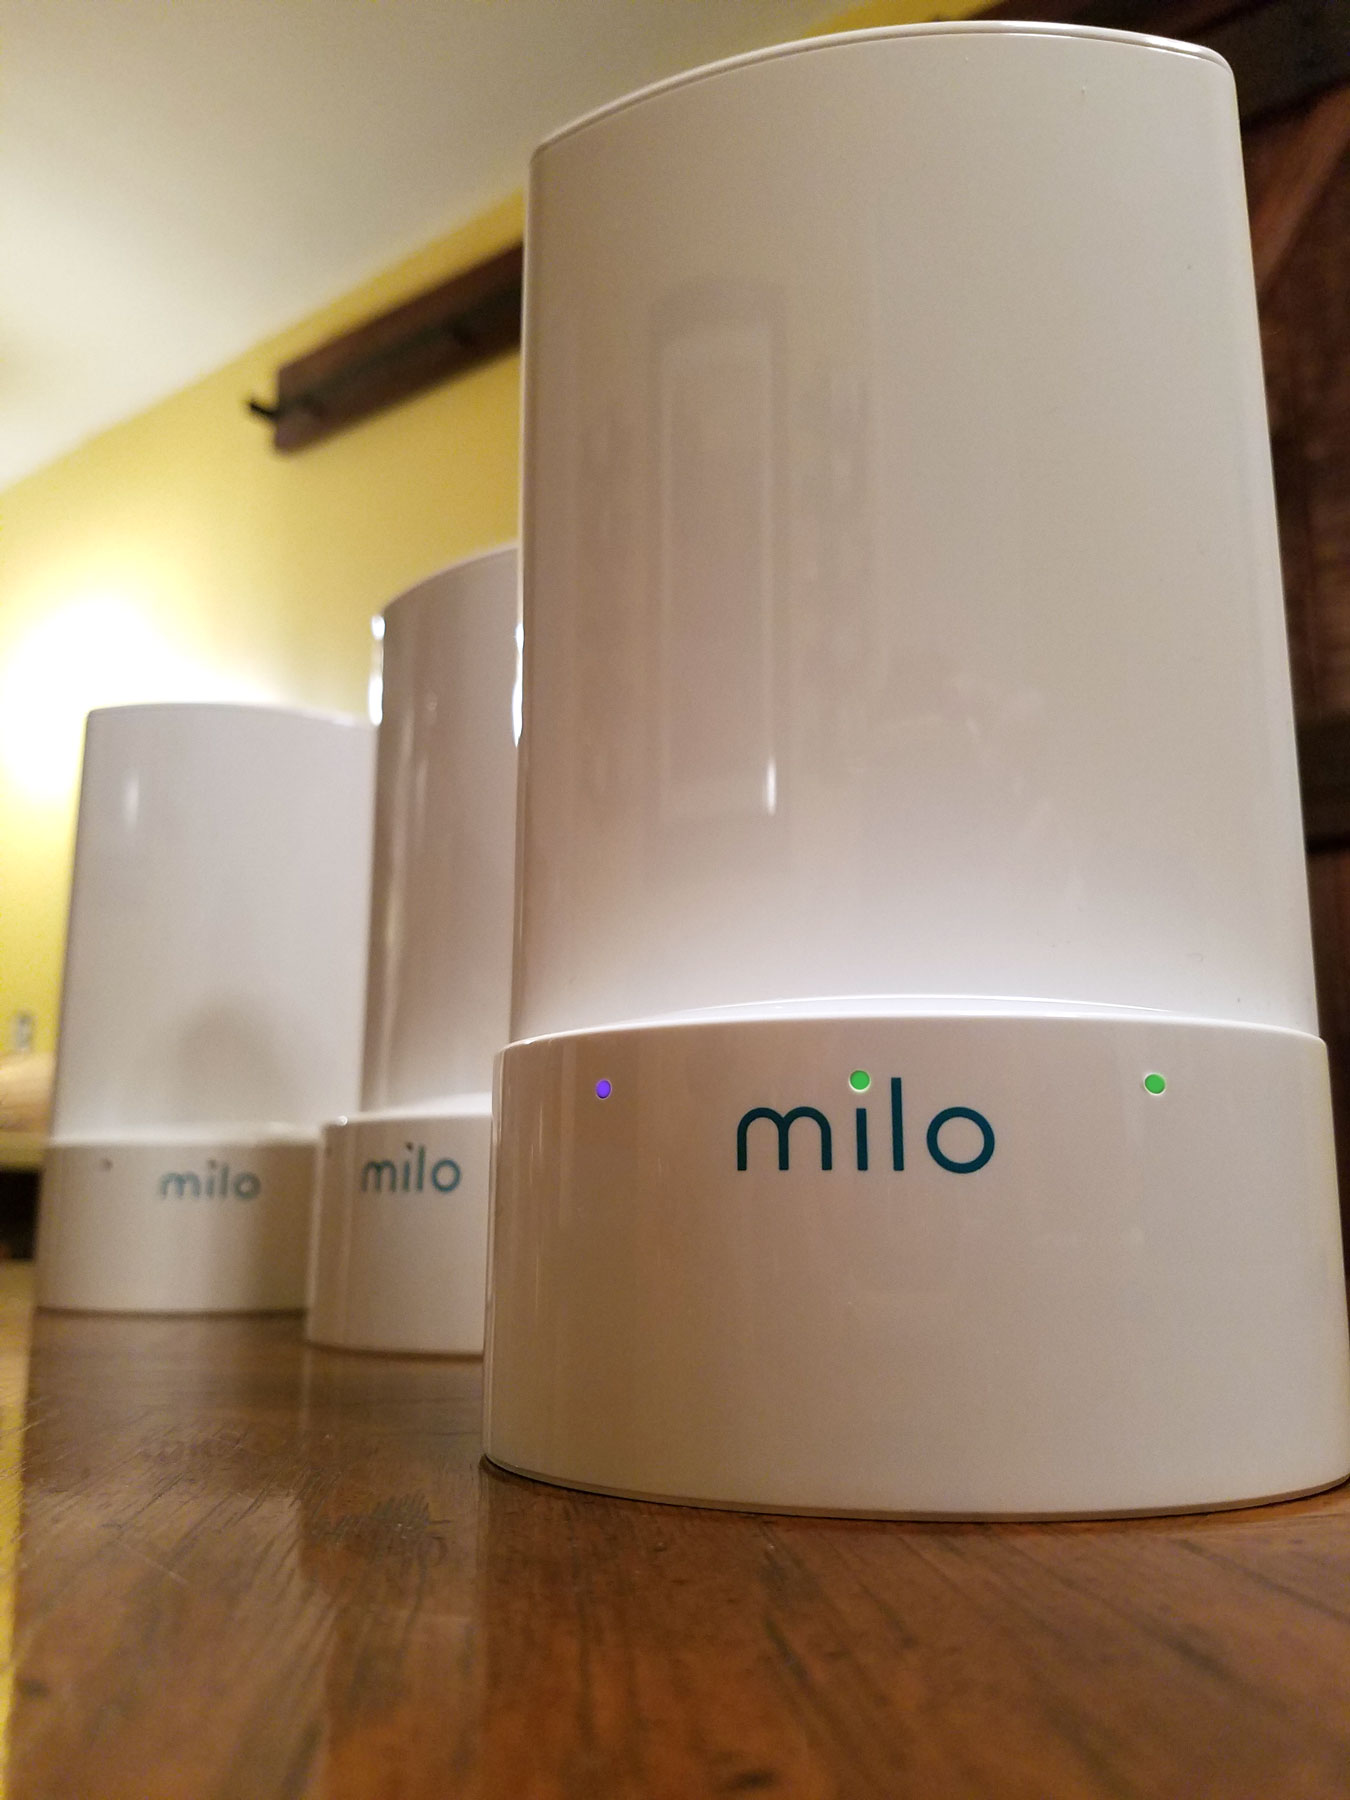 Milo Wifi comes in a 2-pack or 3-pack and is very easy to set up. You can set Milo up 2 different ways (wired connection or wireless). For the video demonstration below, we decided to go the wireless route to really test the setup time and capabilities. In just a few simple steps we were up and running. You’ll start by downloading the Milo Wifi app from the Play Store (Android) or the App Store (iPhone). Once downloaded, the App provides step by step instructions. Once the Base Station is plugged in and the lights are a steady green, you’ll connect to the Milo Network by selecting it in your wifi settings. The default password is listed on the bottom of the Base Station and can be changed once the setup is complete. After you are connected to the Base Station, you’ll then allow Milo to connect to your existing router so you can then create an account and update any settings. Once you’ve created an account, Milo will then prompt you to add a “Milo Point”, which are the remaining Milo towers (one point for the 2-pack and two points for the 3-pack). Once your first point is plugged in (up to 40 feet away from the Base Station or another Point), just select “Add”, and Milo automatically connects to that point, thus spreading the wonderful Wifi signal even further. That’s just about it. Seriously, it’s that easy. Painless setup and a major upgrade to your Wifi signal in just minutes.
Milo has an expansive reach (2 Milos = up to 2,000 sq. feet of coverage). It also uses a “SmartSeek” feature that creates an optimized network, spreading wifi around tricky corners and other hard-to-reach spots. If you need to move a Point somewhere else, the Milo system reconnects and optimizes the network all on its own. Even if your house or business is crowded and the bandwidth is at its max, signal loss isn’t an issue with Milo – it’s designed to work well in crowded environments. So whether you are looking to boost your wifi coverage at home or at work, Milo Wifi has your back.

Leave a Reply